
First touch drills soccer players can do alone at home
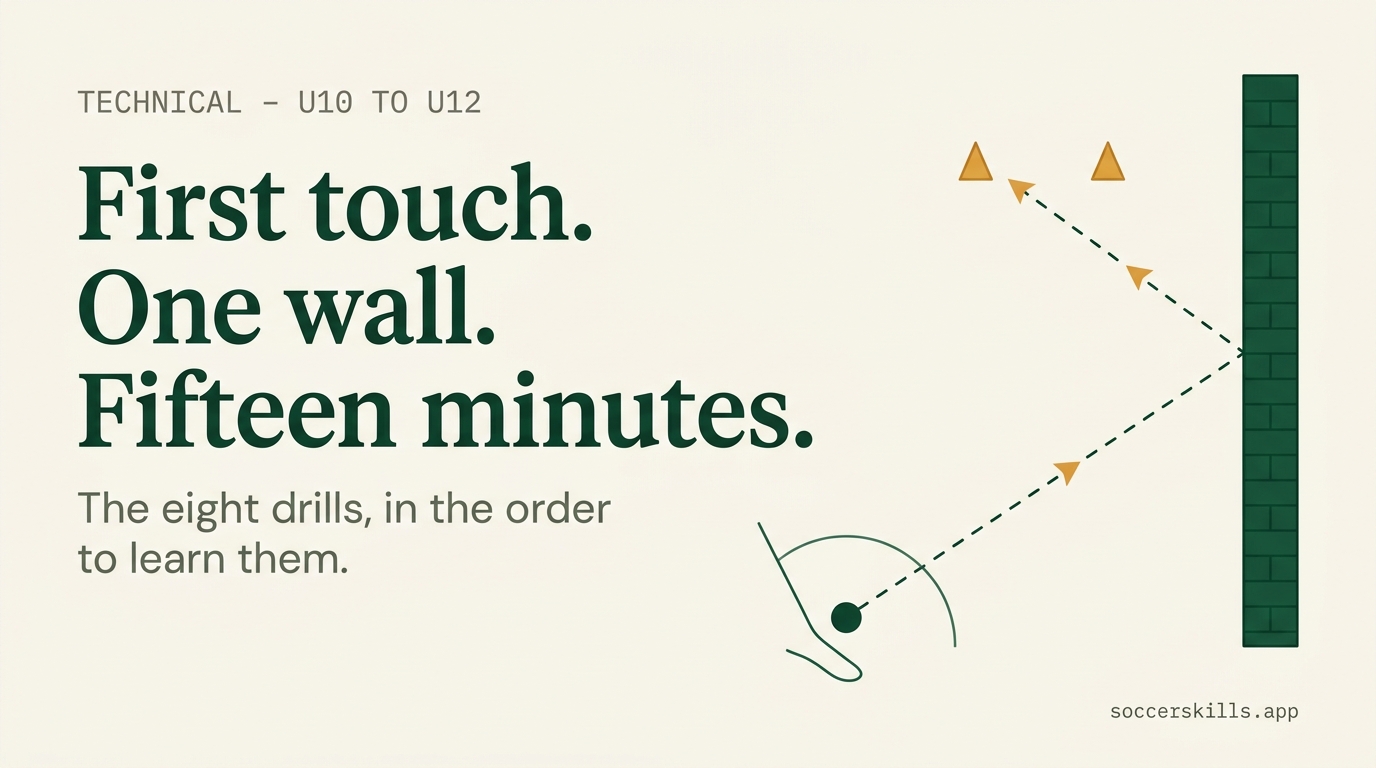
First touch drills soccer players can run alone need a wall, a ball, and about 15 minutes. That's the whole equipment list. Two cones help, and shoes work if you don't have cones.
For a U10 to U12 player, we'd put this ahead of anything else you could do in a driveway. Not because it's exciting, but because first touch is the technique everything else is waiting on. Here's what a good one actually looks like, the eight drills that build it, and a session you can run tonight.
What a good first touch actually is
A good first touch moves the ball a chosen distance, in a chosen direction, off a chosen surface, to the side away from pressure. Four things. All of them decided before the ball gets there.
The distance is roughly one stride. Close enough that the next touch doesn't need a reach, far enough that the ball isn't stuck under the feet. A ball killed dead on the standing foot isn't a good touch, it's a stopped one.
The direction is space the player already picked out. Forward when the field allows it, square when it doesn't.
The surface is where it gets technical, and the USYS Skills School manual has the cleanest split we've seen. A cushion pulls the receiving surface back to absorb pace: inside of the foot, outside, instep, thigh, chest. A wedge traps the ball at about 45 degrees between a surface and the ground, almost always the sole. Cushion when you want the ball to travel. Wedge when you want it to stop.
And then away from pressure, which is the part that separates a tidy driveway touch from a useful Saturday one.
Why first touch is the technique everything else waits on
Because it decides how much time your kid has for every skill that comes after it.
Picture a U11 at the top of the box. Defender four yards off her shoulder, pass coming in. If her touch stops the ball under her foot, the defender arrives and the only ball on is backwards. If her touch pushes it a yard into the open side, she's facing goal and the defender is a stride late. Same pass. Same defender. Same kid. That half-second came entirely from the touch.
USYS has a name for this: a player's technical-tactical radius, the range around them where they can actually pull a technique off. You only get to choose tactics your technique supports. A weak first touch quietly removes options from the game before your kid ever gets to consider them.
It's also the technique that responds best to a wall, because the wall sends the ball back at a predictable pace and the player sets the difficulty by stepping closer or further away.
We'll be straight about the evidence, though. A 2021 systematic review in Frontiers in Psychology found repetition-based technical work reliably improves the technique. Whether that shows up in match performance is not well established yet. A 2025 trial found structured passing work beat small-sided games for side-foot accuracy in youth players. So: wall work makes the touch better, and a better touch widens the radius. Nobody's published what that's worth in goals, and we're not going to invent a number.
First touch drills soccer players can run against a wall
Eight of them, in learning order.
- Wall passing at increasing distance. Pass, cushion the rebound, pass again. Start at 5 yards, then 8, then 12. Further away means faster back, which means less time. That's the whole progression.
- One-touch returns. No control touch. The surface redirects the ball straight back. Ankle locked, surface chosen early, because at one touch there's no room to fix a bad decision.
- Receiving across the body. Ball comes to the right foot, first touch takes it left. This is the most game-realistic thing on the list, because it's exactly what receiving away from a defender looks like.
- Half-turn receiving. Stand side-on, pass, then open the hips on the return and take the touch in the new direction. Once the footwork is clean, add a shoulder check before contact.
- Thigh and chest traps into a controlled roll. Cushion the ball on the thigh or chest, let it drop, settle it with the sole. A rigid chest sends it five yards away, which is a useful thing for a kid to feel once.
- Juggling progressions. Not for the highlight reel. Juggling builds the soft-surface feel that cushioning needs. Laces only, then alternating feet, then foot-thigh-foot, then the weak side.
- Two-cone gates. Two cones a yard apart, two strides to the left. The rep isn't done until the first touch puts the ball through the gate. Then move the gate. This is what turns "good touch" into "touch to a target."
- Weak-foot-only rounds. Everything above, weak foot, nothing else. Least fun block in the session. Biggest difference over a season, by a distance.
The 15-minute solo session, in order
Twenty minutes end to end: two to warm up, fifteen of work, three to finish. Same shape as the 20-minute sessions in the catalog.
- Warm-up (2 min). Ball rolls, toe taps, sole pull-backs. No wall yet.
- Wall passing at 5 yards (3 min). 30 reps each foot, two touches per rep. Have them call the surface out loud for the first ten. It feels silly and it works.
- One-touch returns (2 min). 20 each foot. If the ball keeps getting away, step in a yard. Don't push through it.
- Receiving across the body (3 min). 20 taking it left, 20 taking it right. Alternate inside and outside of the foot.
- Half-turn receiving (2 min). 15 each way. Shoulder check on the last five.
- Two-cone gates (2 min). 20 reps, gate moves every five.
- Weak-foot round (3 min). Any two drills from above. 20 reps each.
- Juggling to finish (3 min). Best of three, then stop. Ending on a number they want to beat tomorrow is most of what makes this a habit instead of a chore.
Three times a week is a good target alongside club training. Twice is genuinely fine. The version that happens twice a week beats the version you plan five times and run once.
How the same drills change from U10 to U12
The drills stay put. Three things move: how fast the ball comes back, how much pressure sits on the touch, and how much of the session runs on the weak foot.
| U10 | U11 | U12 | |
|---|---|---|---|
| Wall distance | 5 to 8 yards | 8 to 10 yards | 10 to 12 yards |
| Ball type | Ground, some bounce | Ground and bounce | Ground, bounce and air |
| Surfaces | Inside, outside, instep, sole | Add wedge off the bounce | Add thigh and chest |
| Weak-foot share | About 25 percent | About 35 percent | About 50 percent |
| Pressure | None, clean reps only | Timer on the last block | Shoulder check before every half-turn |
| Gate target | One fixed gate | Gate moves each set | Gate called out mid-flight |
That isn't a guess. The USYS technique curriculum puts receiving ground balls with the instep and outside of the foot, plus bouncing balls by cushion and wedge, at U10, and holds thigh and chest control back to U12. Jumping to air balls before the ground-ball surfaces are automatic is the usual way a solo session goes sideways.
If your kid is at the younger end of that band, soccer drills for 10 year olds covers the wider technical picture at that age.
Ball size, surface, and picking the right wall
Size 4 ball. U.S. Soccer's Player Development Initiatives put size 4 across U9 through U12, with size 5 arriving at U13. Handing a U11 a size 5 is the fastest way to teach them that cushioning doesn't work, because at that mass it won't.
Then four quick checks before the first rep.
Surface underfoot: flat concrete, asphalt or short grass. Gravel makes the rebound random and the drill pointless. Wet concrete is slick under a plant foot on a half-turn.
The wall itself: brick, block or a concrete retaining wall. No windows in the rebound line.
Garage doors: common, and worth a word. Sectional doors dent, and the panels, springs and track hardware were not designed for a ball hitting them a hundred times. If it's the only wall you've got, keep the passes on the ground, keep the pace low, stay off the panel seams, or hang a sheet of plywood over the bottom section.
Footwear: flat trainers or turf shoes on hard surfaces. Cleats on concrete are rough on ankles.
Nothing here involves load, plyometrics or contact, so there's no age-load gate on any of it. Usual note anyway: if your player is injured or coming back from one, check with their physician or athletic trainer before adding sessions.
How to tell it's working
You won't see it in a rep count. You'll see it when the second touch stops looking rushed.
Three things change over about a month. The ball settles within one stride instead of two. The touch goes somewhere on purpose rather than just stopping. And the weak foot stops producing that little flinch. Coaches tend to notice the last one first.
Frequently asked questions
How do you improve first touch in soccer?
Repetition against a wall, with a chosen surface and a chosen target. Pass, cushion the rebound to a spot about one stride away, pass again. Add distance as the touch cleans up. Fifteen minutes two or three times a week beats an hour once.
What is a good first touch?
It moves the ball a chosen distance (about one stride), in a chosen direction, off a surface picked before the ball arrives, and to the side away from pressure. A ball stopped dead under the foot is a stopped touch, not a good one.
What are the best first touch drills you can do alone?
Wall passing at increasing distance, one-touch returns, receiving across the body, half-turn receiving, thigh and chest traps, juggling progressions, two-cone gates, and weak-foot-only rounds. All eight need one wall and one ball.
Are wall drills for soccer actually effective?
For technique, yes. Research on repetition-based training shows reliable improvement in the technique itself. Transfer to match play is less well studied. Treat wall work as the thing that widens what your kid can do, not as a substitute for playing.
What ball size should a U10 to U12 player use?
Size 4. U.S. Soccer's Player Development Initiatives specify size 4 for U9 through U12 and size 5 from U13. A heavier ball makes cushioning technique nearly impossible to learn at this age.
How long should a solo first touch session be?
About 20 minutes: 2 to warm up, 15 of drill blocks, 3 of juggling to finish. Longer sessions at this age produce worse reps, and bad reps train the wrong pattern.
Is a garage door safe to use as a rebound wall?
It works, with care. Sectional doors dent, and the springs and track hardware aren't built for repeated impact. Keep passes low and on the ground, avoid the panel seams, or hang plywood over the bottom section. Brick or block is better.
How much of the session should be weak-foot work?
About 25 percent at U10, 35 percent at U11, 50 percent at U12. Least popular block in the session, widest gap between players who do it and players who don't.
Does my player need cones for these drills?
No. Two cones make the gate drill easier to set up, but shoes, water bottles or chalk marks do the same job. The wall and the ball are the only things the session actually requires.
Want a 20-minute technical session built around first touch, age-tagged so the wrong drills never show up? Make a free family account.
Background reading: /privacy covers what data we collect about your kid, which is almost none.
Sources: U.S. Soccer Player Development Initiatives, USYS Skills School manual, Bergmann et al, Frontiers in Psychology, 2021, Carlsson et al, Frontiers in Sports and Active Living, 2025, U.S. Soccer Play-Practice-Play.