
Solo soccer drills your kid can do at home
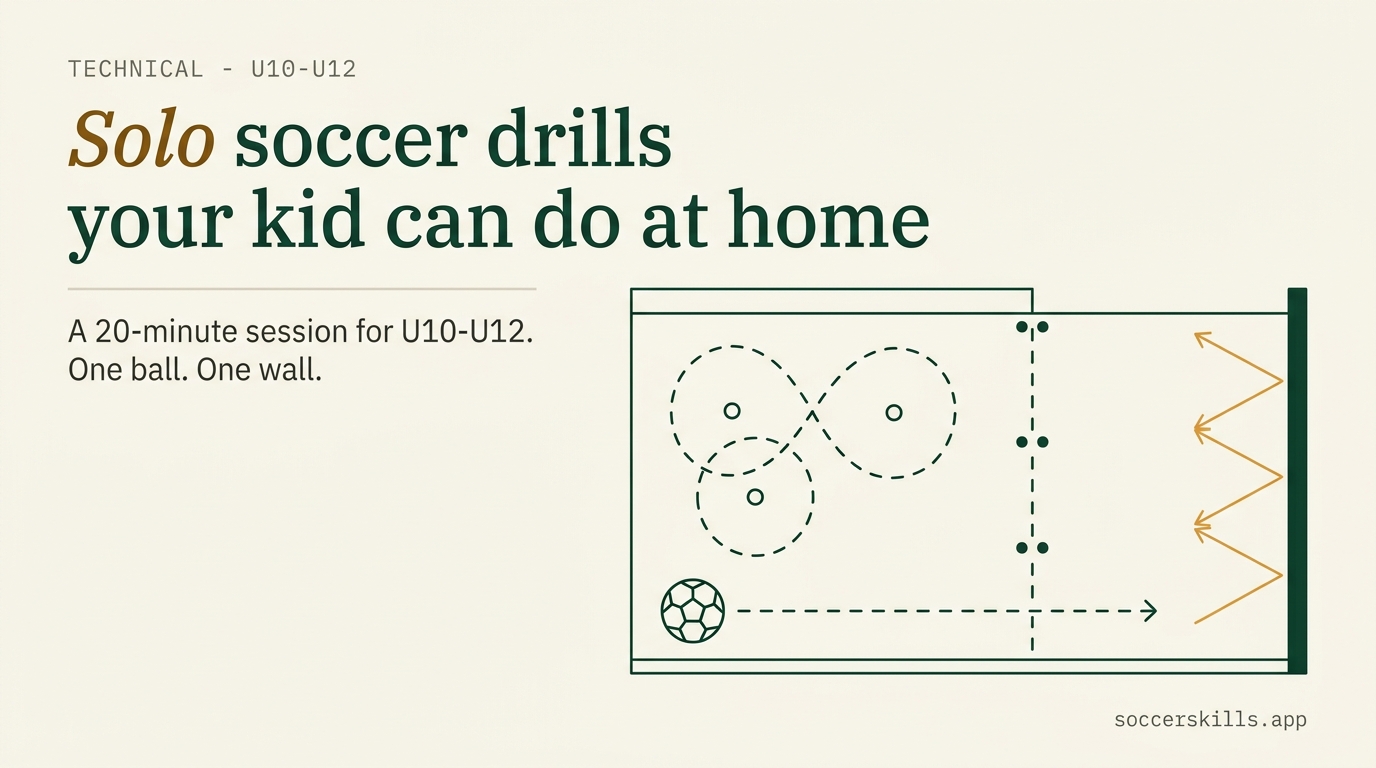
Solo soccer drills are the ones that work with a ball, a wall, and whatever space is behind your house. No partner. No coach. No field, no drive, no eleven other kids who all have to show up.
What follows is a full 20-minute session for U10 through U12, in five timed blocks. Read the blocks out loud once, hand over a phone timer, and go make dinner. That's the whole idea.
What you actually need before the first session
A ball, four markers, and about as much room as two parked cars. Most driveways clear that without anyone moving a car.
The ball should be a size 4, which is what U10 through U12 use in matches anyway, right up until U13 when the size 5 shows up (AYSO's ball and field chart has the full breakdown). Use the scuffed one for driveway work. Asphalt is brutal on a ball surface, and there's no reason to feed it the good ball.
Markers can be anything. Shoes, water bottles, chalk marks, a couple of bricks. Cones look tidier and change nothing about the drill.
The piece that matters most is a wall. Brick, block, a solid fence panel, the windowless side of the house. A wall is what turns a solo session into something that resembles passing with another person.
One thing people get wrong: shoes. Trainers or turf shoes on concrete. Molded cleats on a hard surface give no grip and no give, and the studs are gone in a week.
As for space, here's the arithmetic so nobody guesses. Sole rolls and toe-taps need a body's width. Figure-8 dribbling wants a 6-foot square. A dribbling lane wants 20 feet of straight run. Wall passing wants 8 to 12 feet of standoff. A 20-by-15-foot rectangle fits everything below.
Warm up first, and use the warm-up that matches the age
Four minutes of movement before the first real touch. And for a player between 7 and 13, the routine to copy is FIFA 11+ Kids, not the standard FIFA 11+. The standard one was built and tested on players 14 and older. The kids version came out of the same research group and works on coordination, whole-body stability, leg strength, and how to fall without getting hurt (Oslo Sports Trauma Research Center has the overview).
The big multinational trial behind it found a 48 percent drop in overall injury rate, 55 percent in lower-extremity injuries, and 74 percent in severe ones, with once a week as the working minimum (Rössler et al., Sports Medicine, 2018).
Now the honest part. That trial ran 11+ Kids as a team warm-up before organized training. Nobody has studied it as a driveway routine. The movement patterns carry over fine. The percentages don't, and we're not going to pretend otherwise.
So for a 20-minute solo session, four minutes is the short version: jog and skip, leg swings, single-leg balance, a few controlled landings. The full 10-minute routine belongs before team training.
The 20-minute solo soccer drills session, block by block
Five blocks. Four minutes of warm-up, five of ball mastery, four of first touch, five of finishing and agility, two of cool-down. That's 20 on the nose, and a phone timer runs all of it so nobody has to count reps.
Block 1 – Warm-up (4 minutes)
Jog and skip for a minute, down the driveway and back twice, high knees out and heel flicks back. Then a minute of leg swings and walking lunges, ten swings a leg and six lunges a side. Then a minute of single-leg balance, thirty seconds each side, eyes forward. If that's too easy, close one eye.
Finish with a minute of small two-foot hops in place. Soft landings, knees over toes. If you can hear the landings from the kitchen, they're too hard.
Block 2 – Ball mastery (5 minutes)
Sole rolls for 45 seconds, ball under the hips, rolling side to side and alternating feet. Then 45 seconds of toe-taps, chest up, not staring down at the ball.
Pull-back turns get a full minute: push the ball out two steps, pull it back with the sole, turn, go the other way. Fifteen seconds each foot, then fifteen each foot again with the tempo up.
Step-overs get another minute. Stationary to start – two step-overs, then push out with the outside of the foot. When it looks clean standing still, do it moving.
The last 90 seconds is figure-8 dribbling around two markers six feet apart, weaving with the inside and outside of both feet. Small touches. You want touch count, not lap count.
Block 3 – First touch and wall work (4 minutes)
A minute of two-touch wall passing with the right foot from about 10 feet out. Receive, then pass. Then a minute with the left, same distance, same tempo. It will look bad for a while. That is the point of the minute.
Then a minute of one-touch returns, alternating feet, stepping in a foot or two if the ball starts dying short of the wall.
The last minute is juggling, and where you start depends on the kid. Thigh, catch, thigh, catch for a beginner. Two touches before the catch next. Then continuous on the dominant foot. Then alternating. Write down the best run once a week and leave it alone the rest of the time.
We went deeper on the receiving side of this in our first touch drills post, including what a good first touch is actually supposed to set up.
Block 4 – Finishing and agility (5 minutes)
Ninety seconds of cone gates first. Three gates scattered around the space, markers about 18 inches apart, dribble through as many as possible with a direction change after each one. Count them. Beat the number next time.
Then 90 seconds of dribble-and-strike: a 20-foot lane, then a laces strike into the wall or a net target. Walk back to reset. Sprinting back turns this into conditioning, which is not what the block is for.
Ninety seconds of weak-foot work comes next, half speed, every drill above.
Close with 30 seconds of reaction starts. Standing position, first touch, three hard steps, four times through. Stop there before it becomes a sprint workout.
Block 5 – Cool-down (2 minutes)
A minute of walking the space with the ball at the feet, then a minute of easy hamstring, hip flexor, and calf stretching. This is the block every kid skips and the one that makes tomorrow's session more likely to happen.
Concrete, grass, and what does not belong on a hard surface
Ball work on concrete is fine. Repeated jumping and landing on concrete is not.
Concrete gives you a true bounce and a fast roll, which sharpens sole rolls, toe-taps, figure-8s, and wall passing. It also makes first touch harder, in the useful way. Grass eats the ball, slows everything down, and quietly hides a sloppy touch. If you've got both, run Blocks 2 and 3 on the driveway and Blocks 1 and 4 on the grass.
What comes off the concrete every single time: repeated two-foot landings, bounding, depth jumps, and anything where the same landing pattern repeats dozens of times in a row. Repetitive stress without enough recovery is the mechanism behind most youth overuse injuries, and a hard surface piles more onto a movement that already carries plenty (the AAP clinical report on overuse injuries is the readable version of that argument). Four small hops in Block 1, anywhere. A plyometric circuit on a driveway, no.
Two more things nobody mentions until it's too late. Garage doors are thin sectional steel, and they dent, and you will get to explain the dent. Windows lose every argument they're in.
If a garage door is the only vertical surface you have, drop the pace, keep strikes below waist height with the inside of the foot, and treat it as a passing wall instead of a finishing target. Honestly, a fence panel with a rectangle taped on it beats most garage doors and costs nothing.
Wall work is the closest thing to a partner
A wall sends the ball back at a speed and angle a kid can predict, which is exactly what learning to receive requires. It's the one thing in the driveway that changes what a solo session is capable of teaching.
Stand 8 to 12 feet off it. Closer than 8 and the ball is back before the feet are set. Farther than 12 and a U10 can't hit it hard enough to get anything useful in return.
Tape or chalk a rectangle on it, about 3 feet wide and 2 feet high, at knee height. "Hit the wall" isn't a skill. "Hit the box" is.
Then work through three versions in order. Two-touch first: receive across the body, then pass, each foot getting its own round. One-touch second, returning the ball first time, where the tempo climbs and the accuracy drops and that trade is the whole drill. Angled receive last, standing at 45 degrees so the ball arrives across the body rather than straight at it. The third one is what actually shows up in a match.
Weak-foot rounds work better as their own block
Give the weak foot its own timed round. Asking for "both feet" inside every drill sounds reasonable and doesn't survive contact with a ten-year-old, who will use the strong foot roughly nine times in ten while both of you fail to notice.
Ninety seconds, weak foot only, half speed, placed where the kid is warm but not cooked. The half speed part isn't a suggestion. A weak foot at full speed produces bad reps at volume, and bad reps at volume are how technique gets locked in wrong. When the weak-foot round stops looking like a different sport, raise the tempo. Don't raise the length.
Safety limits worth holding to
Bodyweight only at U10. At U11 and U12, bodyweight or a dumbbell up to 5 pounds, with an adult in the yard.
Supervised, technique-first resistance training is well supported for kids when the load fits and the coaching is real (the NSCA position statement on youth resistance training is the standard reference). The thing that causes trouble at this age is almost never the weight. It's volume, surface, and fatigue stacked together: too many landings, on concrete, at the end of a session where the form already went.
Four rules we hold to at home. Warm up every time, even for 20 minutes of work. Keep repeated landings and bounding off concrete. Stop when the technique degrades rather than when the timer runs out. Leave at least one full day between sessions with any jumping in them.
This is general information, not medical advice. If your player has a current injury, joint pain lasting more than a few days, or any condition that affects training, talk to your pediatrician or a sports medicine physician first.
Frequently asked questions
What soccer drills can you do alone?
Ball mastery, first touch, and finishing all work solo. Sole rolls, toe-taps, pull-back turns, step-overs, figure-8 dribbling, wall passing, juggling, cone gates, and weak-foot rounds need nobody else. Passing and defending patterns are the ones that genuinely need a second player.
How can my kid practice soccer at home?
Give them a timed 20-minute session instead of open-ended practice time. Four minutes of warm-up, five of ball mastery, four of first touch and wall work, five of finishing and agility, two of cool-down. The timer does the coaching. Consistency beats session length.
What soccer drills work without a partner?
Anything where the ball comes back on its own or never leaves the feet. A wall stands in for the partner on passing and receiving. Cone gates stand in for the defender on change of direction. Juggling and ball mastery never needed a partner at all.
How much space do you need for soccer drills?
Roughly 20 by 15 feet covers the whole session. Ball mastery needs a body's width, figure-8 dribbling a 6-foot square, a dribbling lane 20 feet of straight run, and wall passing 8 to 12 feet of standoff. A two-car driveway is enough.
Is it safe to do soccer drills on concrete?
Ball work, yes. Repeated jumping, bounding, and plyometric landings should move to grass. The concern is repetitive impact without recovery, which is the mechanism behind most youth overuse injuries. Trainers or turf shoes, not molded cleats.
What size soccer ball should a U10 use at home?
Size 4, the same ball U10 through U12 use in matches. Size 5 arrives at U13. Keep an older scuffed ball for driveway sessions, since asphalt wears a ball down far faster than grass does.
How often should my kid do a solo session?
Two or three times a week alongside team training, with a full rest day between any sessions that include jumping. Past that the returns fall off quickly and the overuse risk starts climbing instead.
Does my kid need to warm up for only 20 minutes of work?
Yes. Four minutes of jogging, leg swings, single-leg balance, and controlled landings. For ages 7 to 13 the model is FIFA 11+ Kids. The standard FIFA 11+ is designed for players 14 and older and assumes more mature biomechanics.
Can a U11 use weights in an at-home session?
Bodyweight or a dumbbell up to 5 pounds, with adult supervision. U10 stays bodyweight only. Technique and supervision matter far more than the number on the dumbbell, and the load is rarely what causes trouble at this age.
Want the block list built for you, age-tagged, with every drill already reviewed? Make a free family account. Pick the age, the time, and the space you've got, and the session comes out sized to fit.
Background reading: /privacy covers what data we collect about your kid, and the accessibility statement covers how the catalog handles assistive tech.